
The DDx course creation guide was developed to walk instructors step-by-step through setting up their course within the platform. Its purpose is to streamline the process of adding cases, organizing assignments, and aligning DDx activities with course objectives. By following this guide, instructors can save time, ensure consistency across courses, and create a clear, structured learning experience for students.
Once you've created your course, check out our step-by-step guide for creating assignments to learn how assign cases. But first, follow these steps to get started with DDx:
Course Creation
1. Log in to DDx using your username and password.
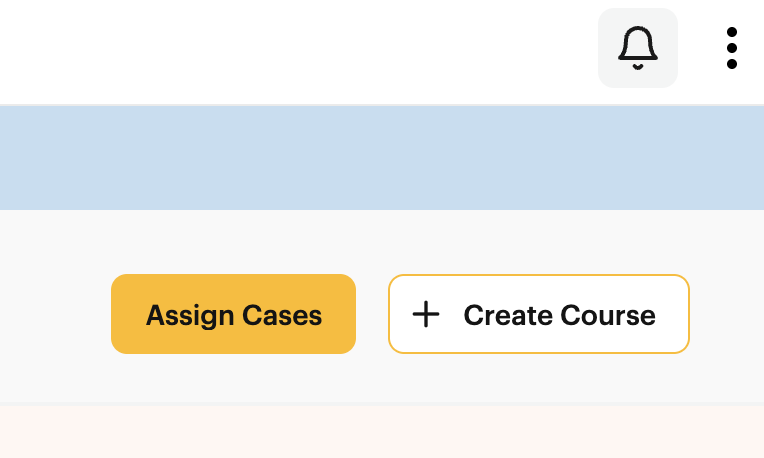
2. Click "+ Create Course".
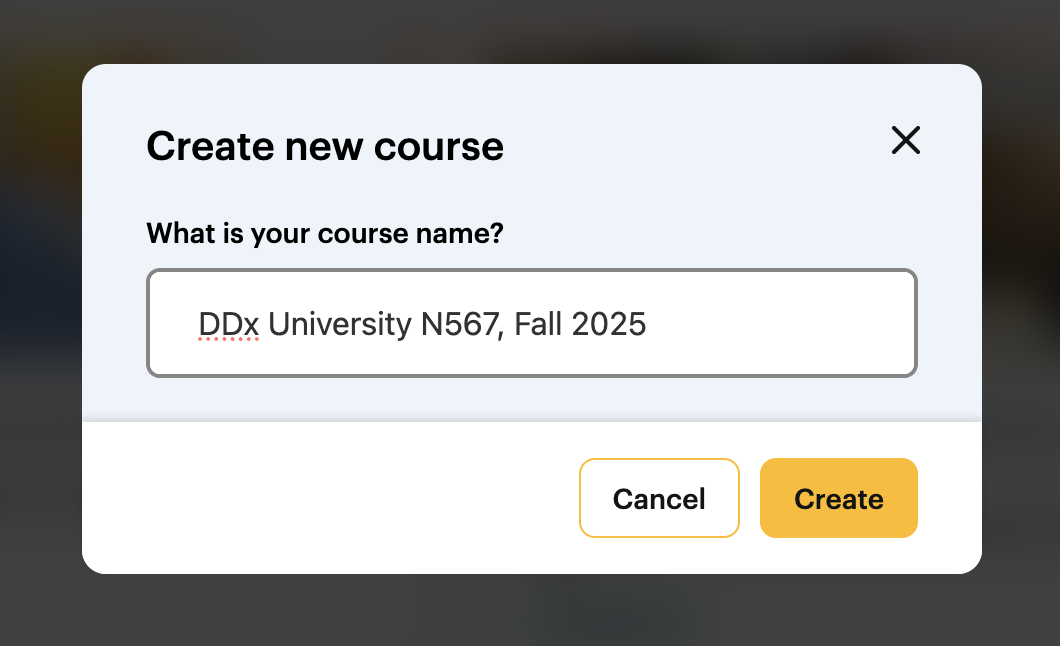
3. Title your course (Official course title/number AND semester/year is recommended) → Click "Create" to save your course name.
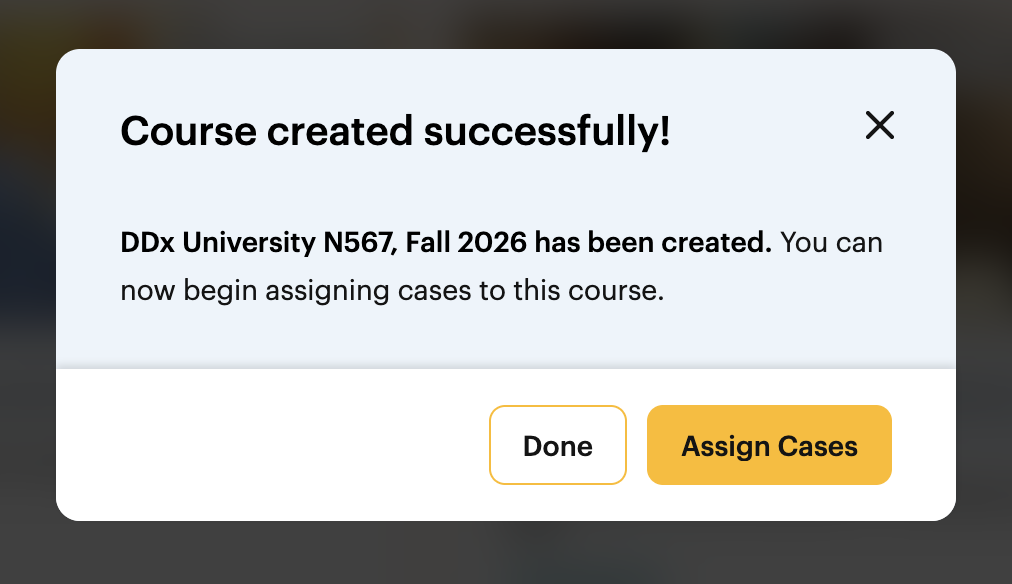
4. You have successfully created your course! Click "Assign Cases" on your confirmation screen to return to the case library.
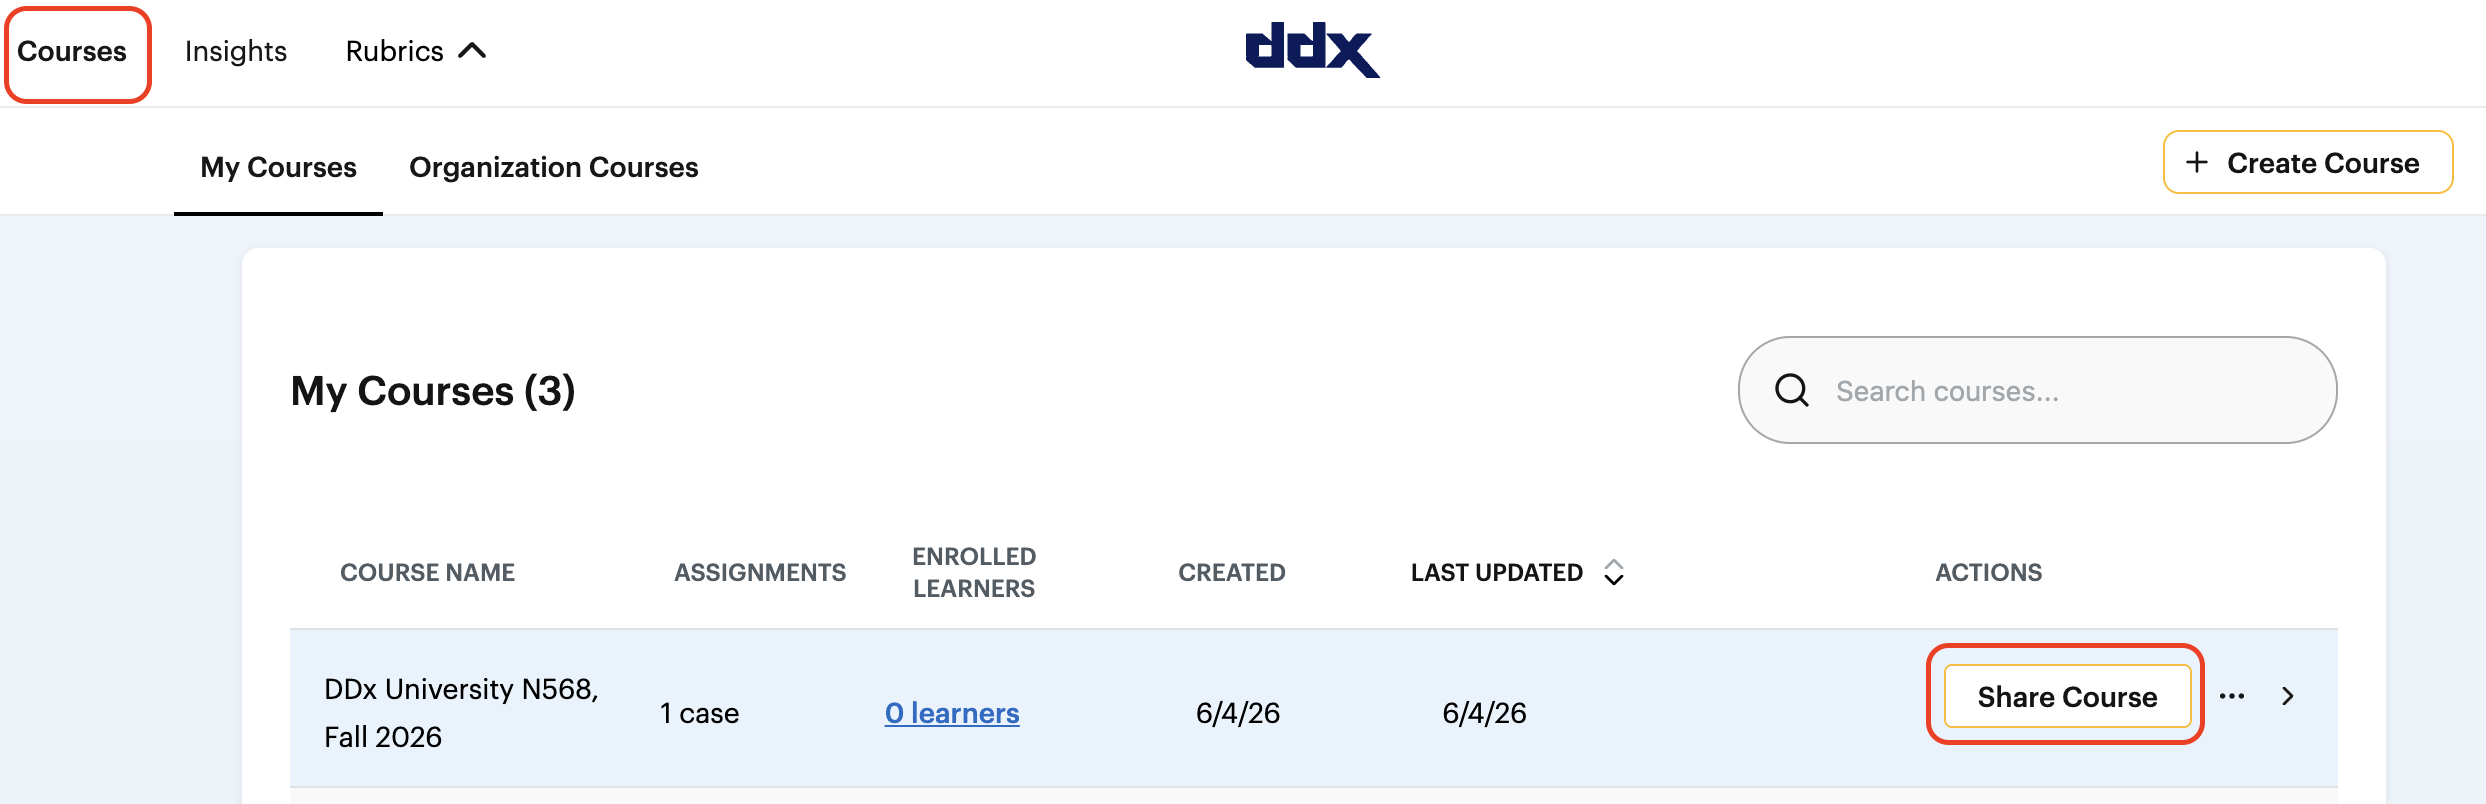
To invite learners to join your course, navigate to your "Courses" tab on the top left and click "Share Course." Copy the course invite link and share that with them.
.png)
Student Experience
Students click the course link you shared.
They will be prompted to create an account (if they don’t already have one) and should select Student during the account creation process.
After signing up, they will automatically enter the course and see their assigned cases.
.png)